DAY 2
1. Work on top of your finished controlled contour drawing and layer in more gestural, less controlled
line-work.
3. You have the option of adding LIMITED value. Use it
as a means to give you more of a push-and-pull of space. Notice in the drawings below value is nearly non-existent.
4. Be conscious of your decisions to place value.
5. Review final drawings
**If I see that we
continue to overly lean on value in our drawings, I
will either take it out of your arsenal, or I'll give you a specific
number of times you can use it within each drawing.**
Tuesday, November 20, 2012
Thursday, November 15, 2012
Self-Portrait: Controlled Contour
For this drawing, work from a mirror and create final "finished" controlled contour self-portrait.
1. Work from mirror
2. Include from top of head to shoulders / chest
3. Include environment
4. Be meticulous. Include full detail
5. Include sequential line technique (think back to loops and curls exercise)
Materials:
black conte, rubber eraser, good paper (22''x30'')
1. Work from mirror
2. Include from top of head to shoulders / chest
3. Include environment
4. Be meticulous. Include full detail
5. Include sequential line technique (think back to loops and curls exercise)
Materials:
black conte, rubber eraser, good paper (22''x30'')
Skeletons "Finished to Unfinished" Part 1.
This week we will work with a technique that is called "Finished to Unfinished"
DAY 1
1. You will begin by drawing the still-life in controlled contour.
2. Complete the entire drawing, blocking in, composition counts.
3. Begin with continuous lines.
4. Review progress
5. Include techniques learned from sequential line exercise (loops and curls)
Materials: good paper, conte, rubber eraser
Bring in your final "finished" drawing to our next class meeting.
DAY 1
1. You will begin by drawing the still-life in controlled contour.
2. Complete the entire drawing, blocking in, composition counts.
3. Begin with continuous lines.
4. Review progress
5. Include techniques learned from sequential line exercise (loops and curls)
Materials: good paper, conte, rubber eraser
Bring in your final "finished" drawing to our next class meeting.
Tuesday, November 13, 2012
Plants & Flowers
Critique:
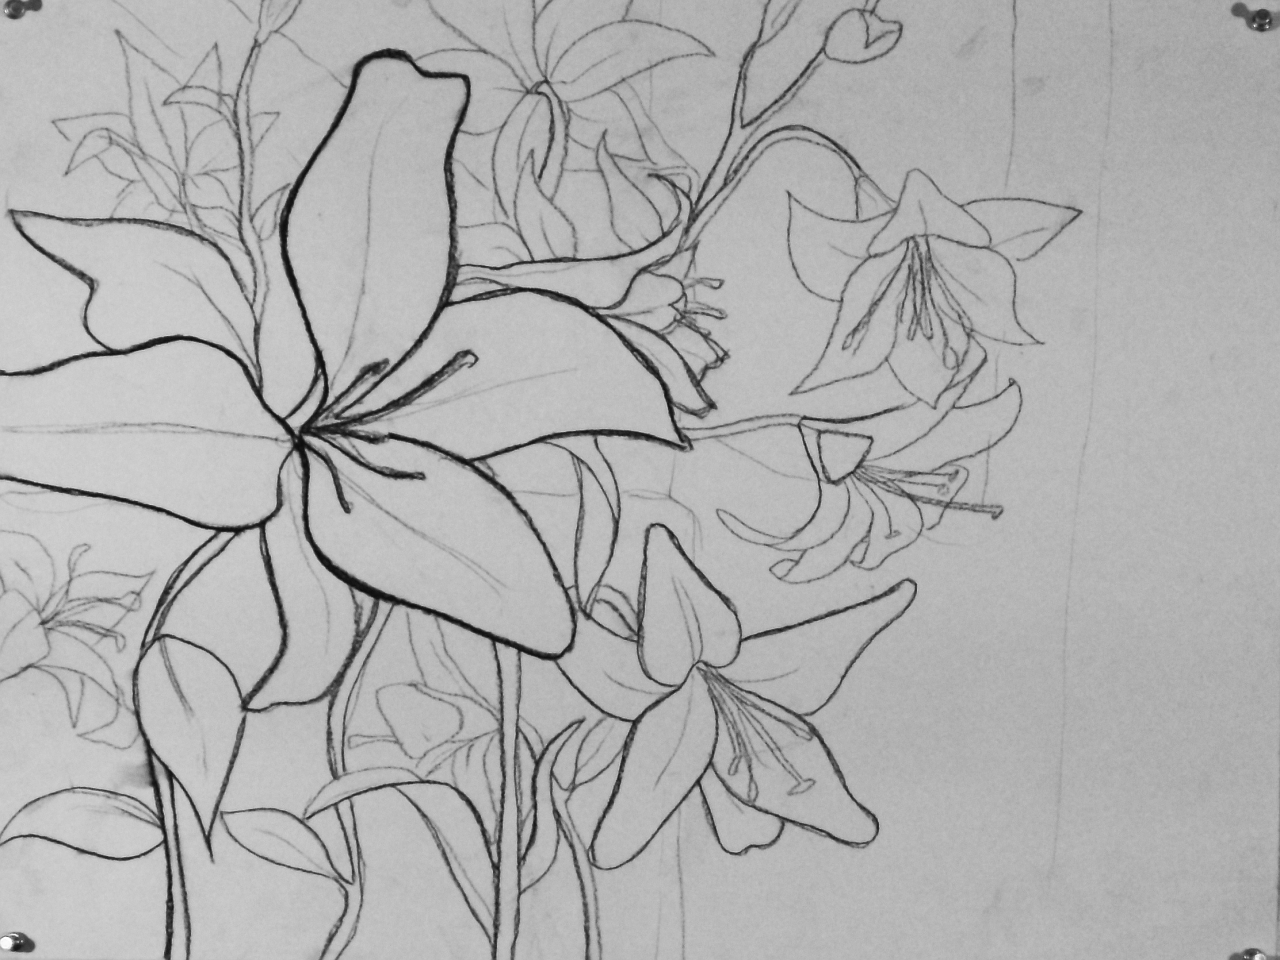
1. Draw through the object. Draw the space from front to back. Try drawing directly over objects to show 3D space.
2. Line variation - work on sequential line technique. Show variation in one object as well as variation from foreground to background. Avoid variation at same integrals.
3. Don't be afraid of conte! I want to see those heavier lines
4. Avoid using lines as texture (like short marks). By doing this, you are avoiding how to use line variation.
1. Draw through the object. Draw the space from front to back. Try drawing directly over objects to show 3D space.
2. Line variation - work on sequential line technique. Show variation in one object as well as variation from foreground to background. Avoid variation at same integrals.
3. Don't be afraid of conte! I want to see those heavier lines
4. Avoid using lines as texture (like short marks). By doing this, you are avoiding how to use line variation.
Thursday, November 8, 2012
Free-hand Perspective - Plants & Flowers
The assignment:
1. Draw layers and layer of what you see
2. Work from light, mid-light, dark-light while you finalize perspective - don't move on to darker mediums until perspective is correct.
3. work from dark-light-fine, dark-medium, dark-dark until you have a very tight drawing
4. Avoid sketch lines as you move into darker mediums.
5. Be conscious of placement of darker mediums, heavier line weights.
Materials:
Examples:
- Use the same techniques we have been practicing in class - loose to tight, blocking in, line quality and variation.
- Create your own still-life or work outside.
- Draw through plants and flowers - be meticulous.
- Work from the foreground to background, creating a detailed 3D environment.
- line only
1. Draw layers and layer of what you see
2. Work from light, mid-light, dark-light while you finalize perspective - don't move on to darker mediums until perspective is correct.
3. work from dark-light-fine, dark-medium, dark-dark until you have a very tight drawing
4. Avoid sketch lines as you move into darker mediums.
5. Be conscious of placement of darker mediums, heavier line weights.
Materials:
- soft graphite
- hard graphite
- charcoal pencil
- conte
- good paper (22''x30'')
- rubber eraser
Examples:
Subscribe to:
Posts (Atom)